Today we are going show you how to complete the setup, import your information and secure your Bitwarden account across multiple applications and devices.
In today’s digital age there has never been a more pressing need to store your private information securely. And if you are going to do something, you may just as well do it right! Bitwarden is trusted by millions of people worldwide to provide secure logins and notes and other information across any device, anywhere. It integrates with apps and sites alike to provide you with some of the best protection out there for your personal and financial information.
Getting started with your Bitwarden account
The first step of the process is heading over to the Bitwarden website, where you can select “Get Started” and start creating your Bitwarden account. Bitwarden is open source and provides a completely free Vault that you can share with one other user.
They also have a 7 – day free trial on their Premium and Family accounts, which are available at affordable $10/pa and $40/pa plans.
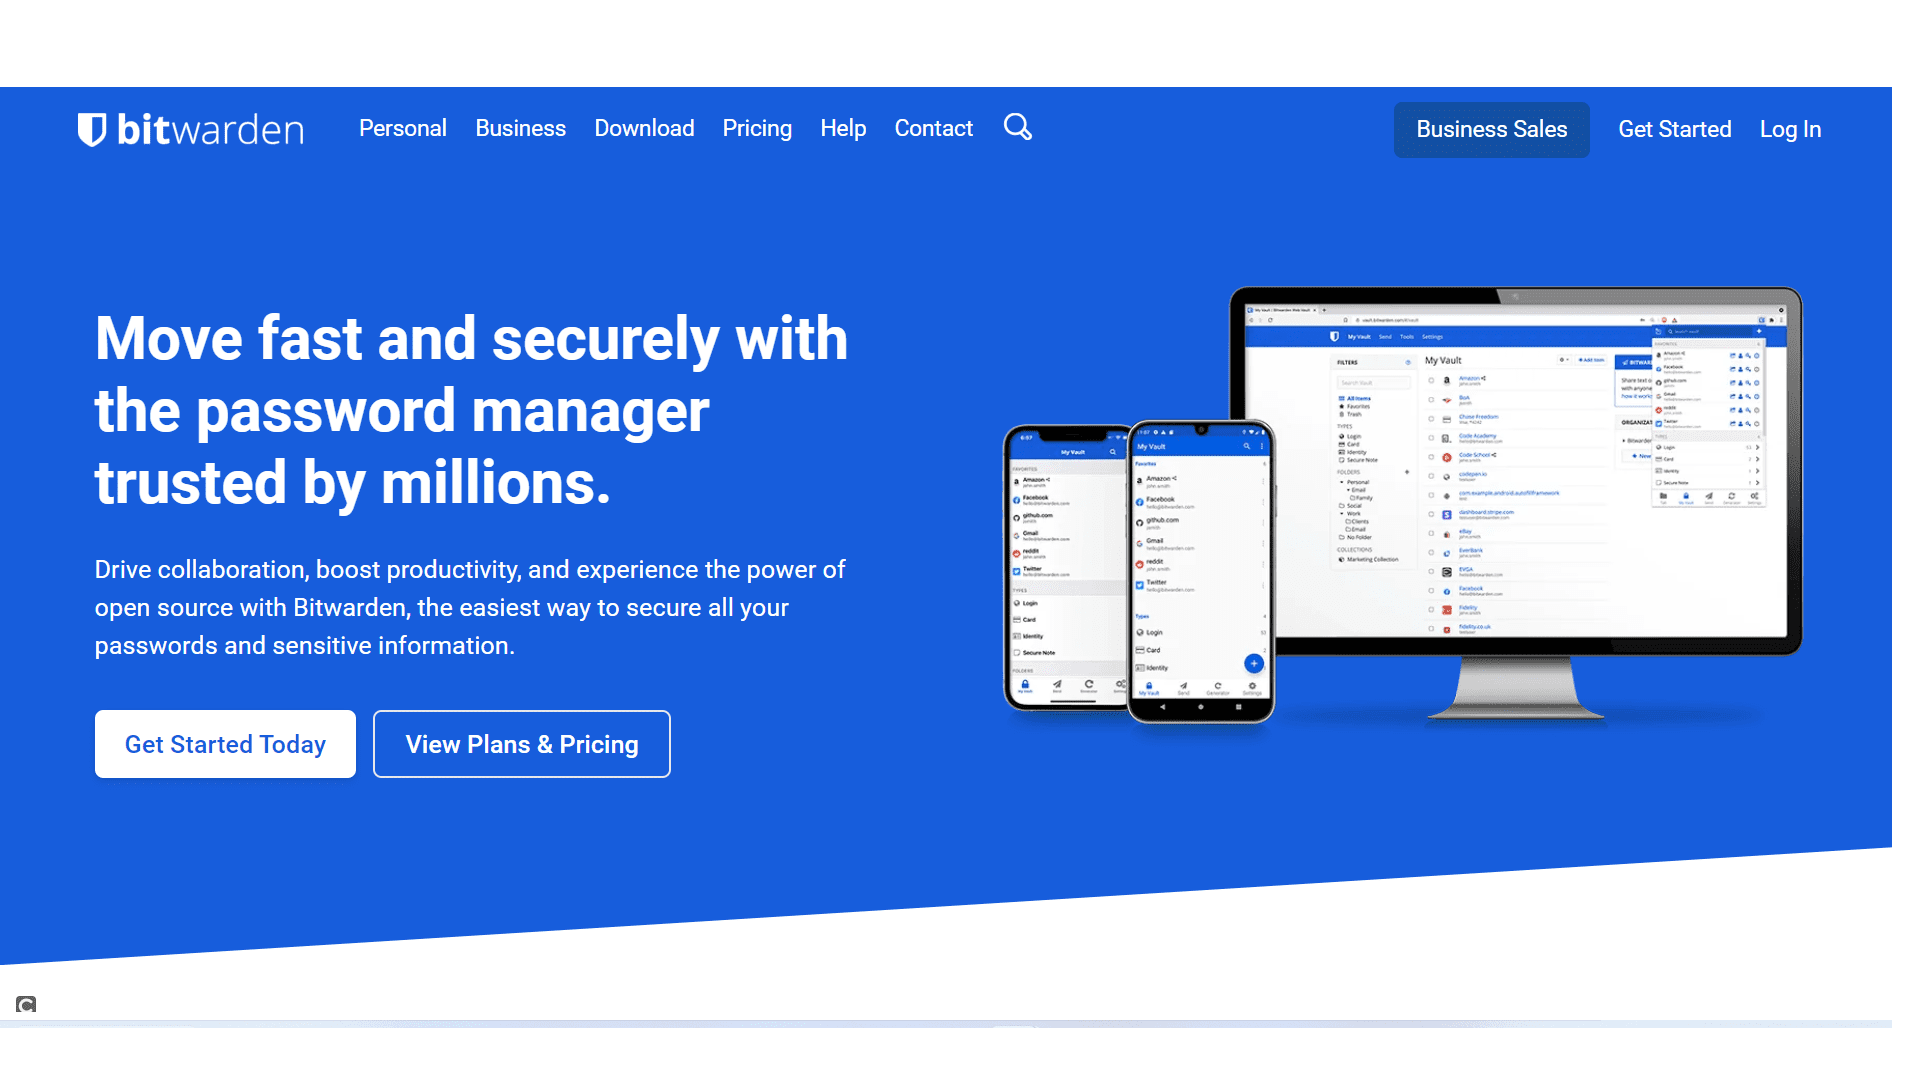
Signing up to Bitwarden
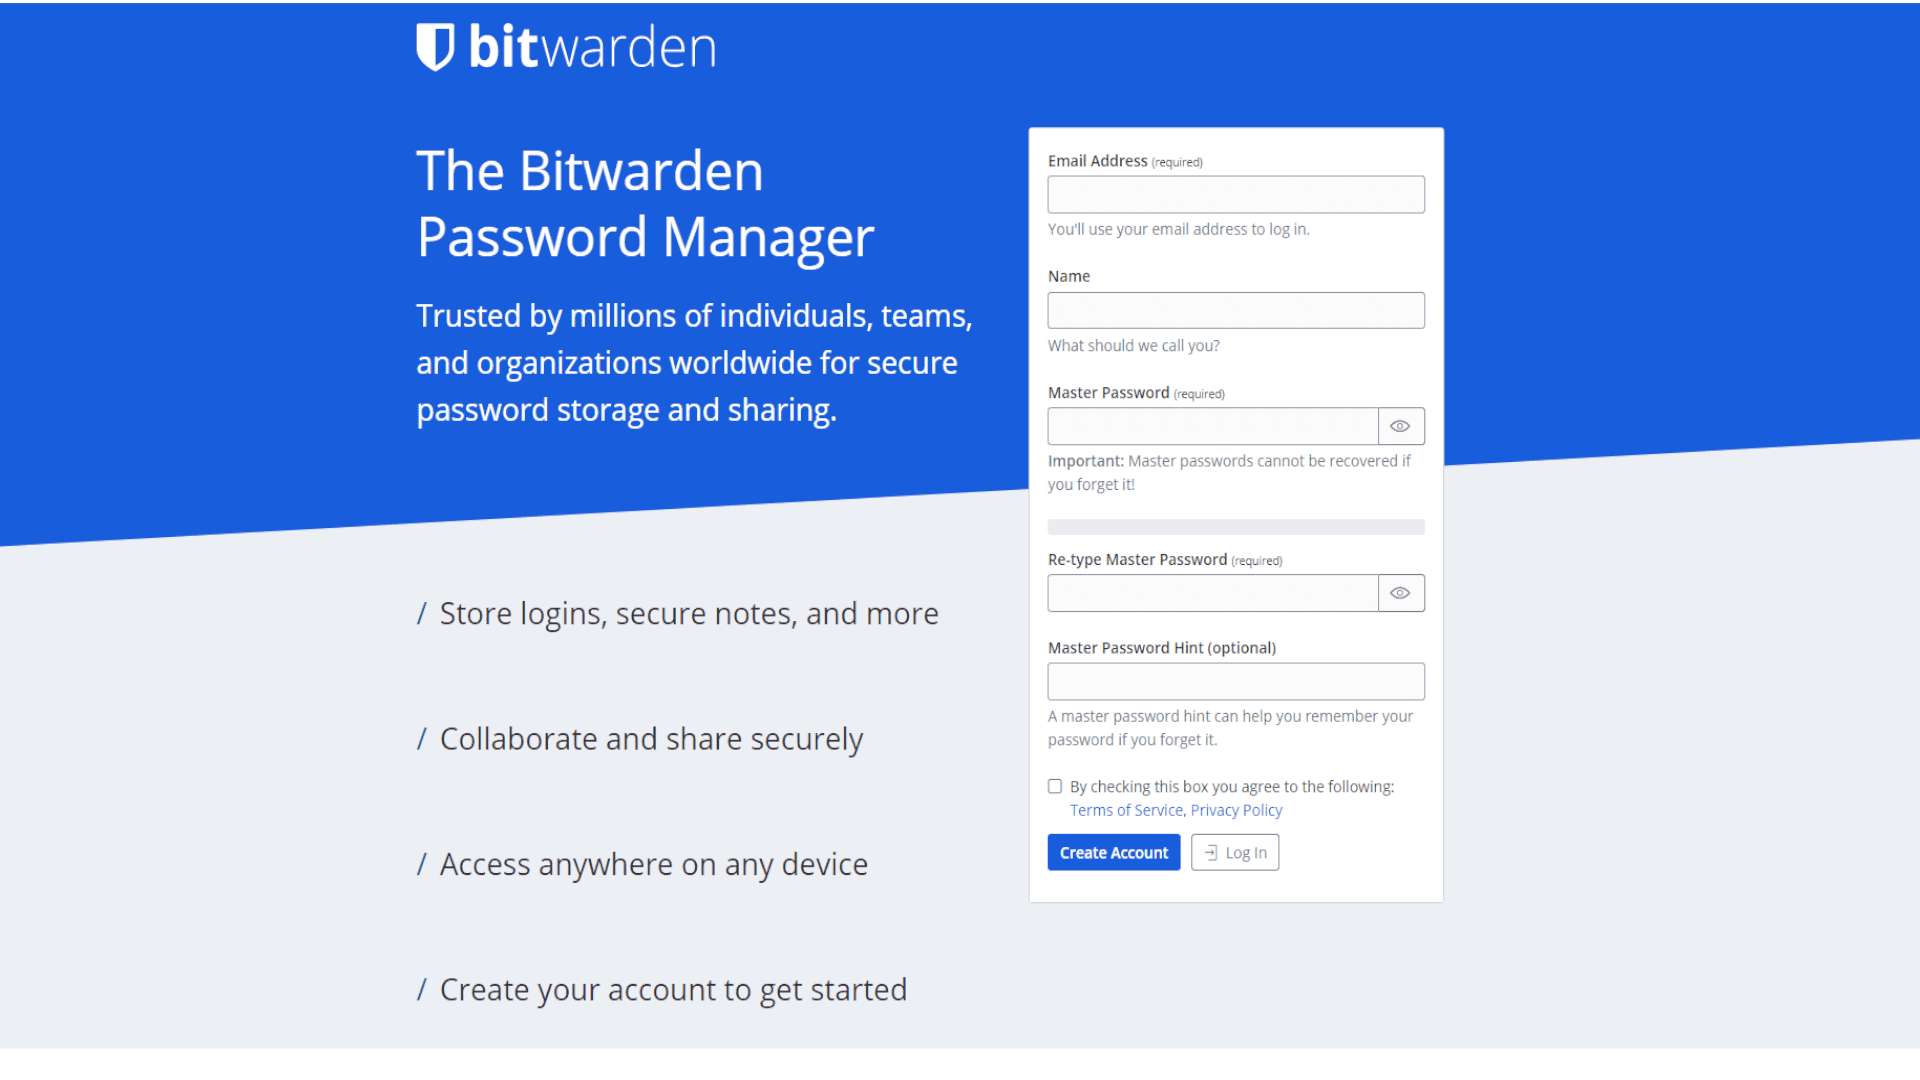
Next up we complete the simple sign up form. Be sure to select a strong master password when creating your Bitwarden account as this will be the key to keeping all your secrets.
If you need any help on how to set a strong password, you can check out the article by Google on how to set a safe and secure password.
Verifying your Bitwarden account
Now it’s time to request a verification e-mail from your dashboard then head over to your account, and complete the verification process by following the link received.
Bitwarden generates secure passwords too!
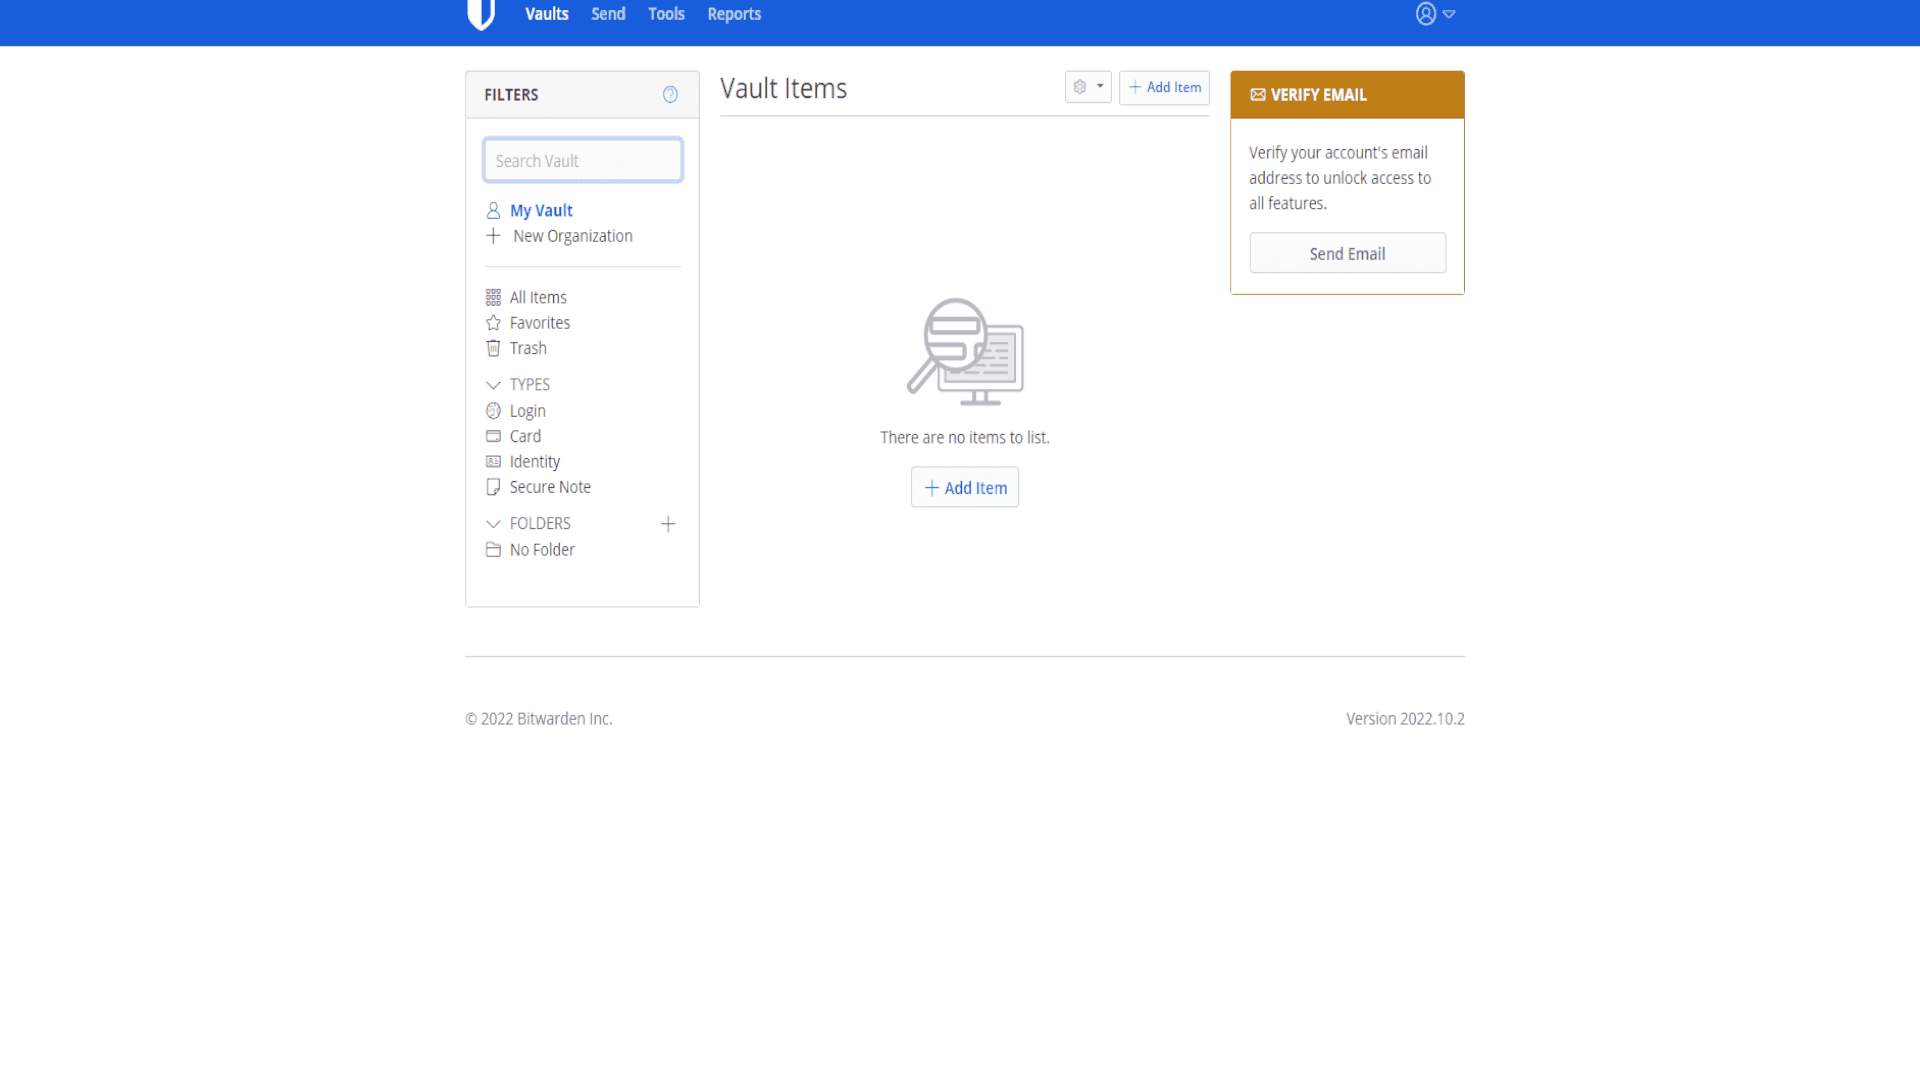
Log into your Bitwarden account
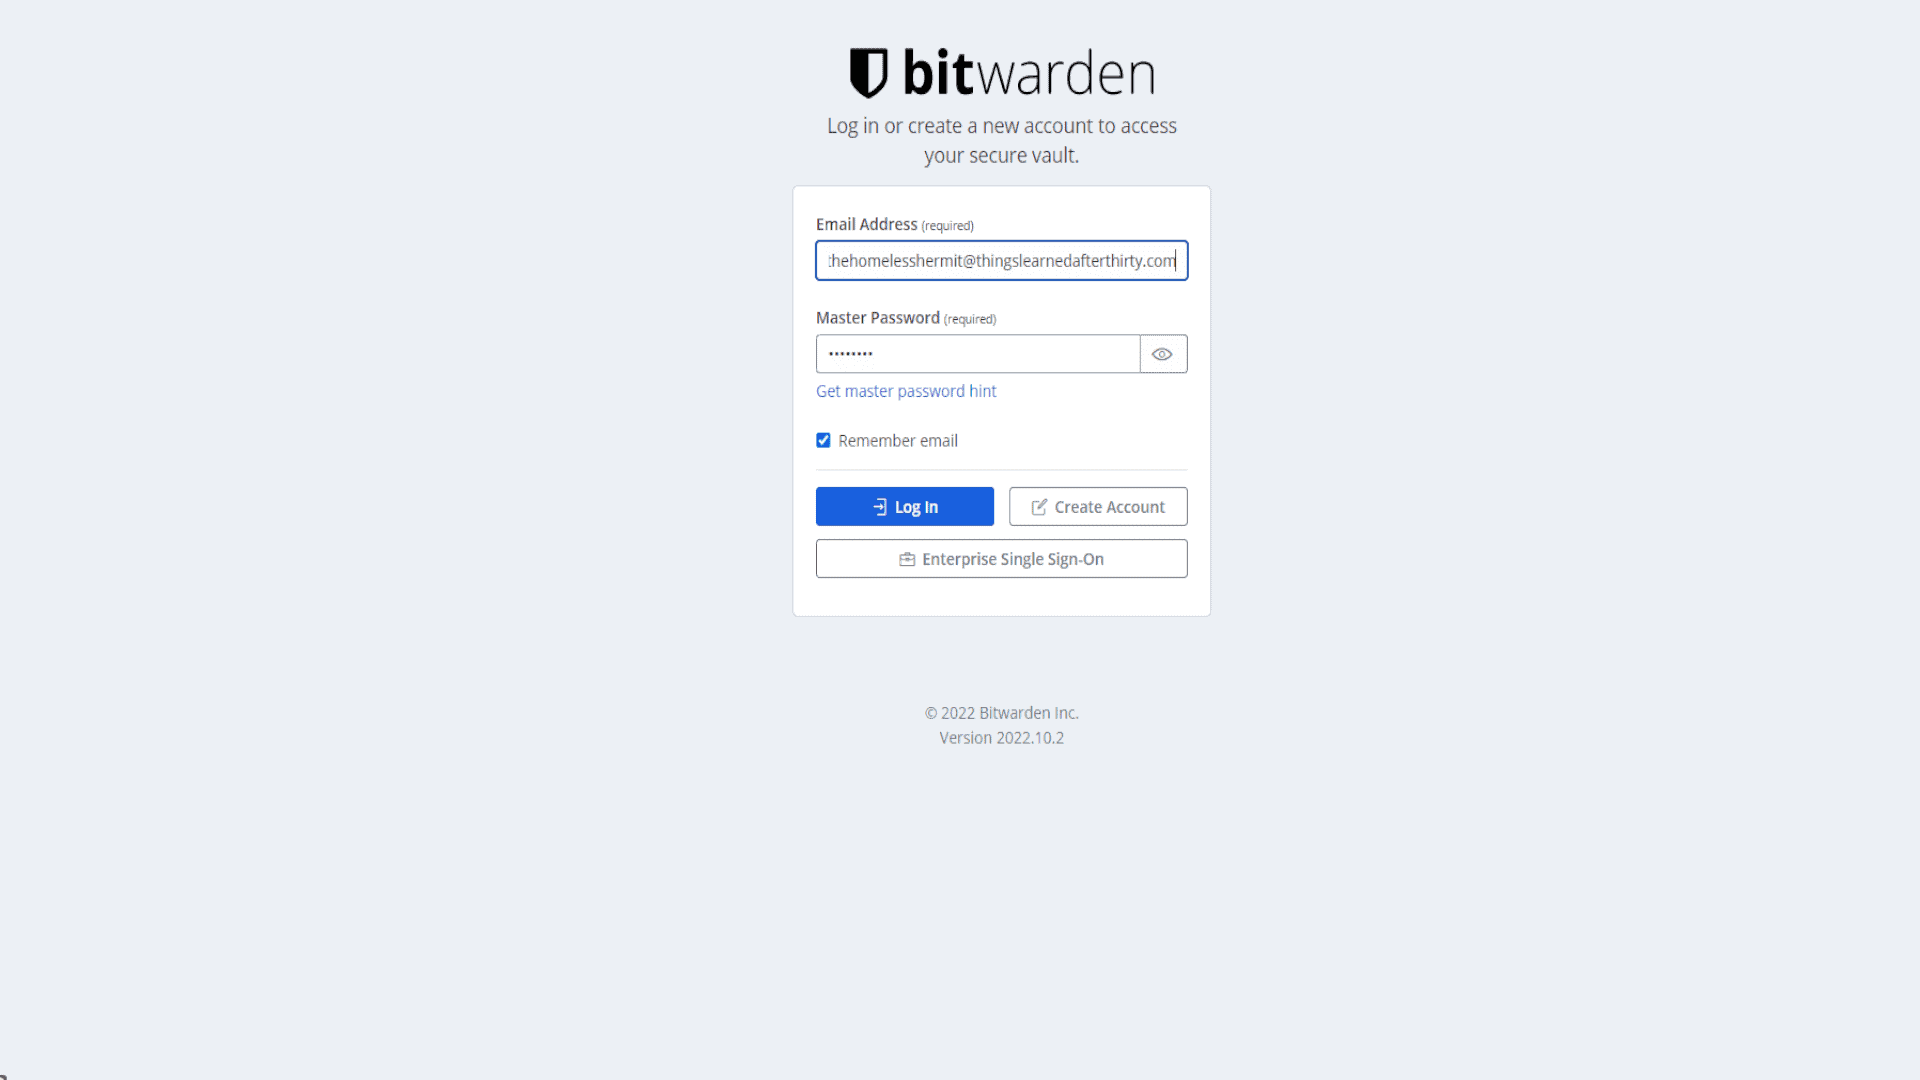
All that’s left to do now is log into your account. Enter your password, click that submit button and congratulations. You have opened an account and made a good life decision by protecting your privacy!
Download the Bitwarden browser extension
Either install directly from the plugin section of your browser or head onto google and enter “Bitwarden extension” + the browser you’re using. Bitwarden integrates with all your devices to provide you with protection wherever there is the potential for privacy theft.
Here are the links for:
Importing your data to Bitwarden
If you would like, you can import the data from your Lastpass, Chrome, Firefox, 1Password or Password safe account. This can be done directly from the extension by heading to Settings>Tools or following this link to the Bitwarden website where they will take you through the steps of exporting and importing your information. Just be sure to delete all copies once you’re done! .
Securing your account
We are finally at our final step! Just like with any sensitive information it is always important to take the extra steps to secure your privacy. The last step in setting up your Bitwarden account is to activate Two – Factor authentication which is easily configured by following the instructions on Bitwardens 2FA page.
Your Bitwarden account is setup and secure!
Congratulations! Your Bitwarden account is now securely configured and ready to use on your laptop. Don’t forget to download the app on your mobile device too. Once you log in it will automatically integrate with your other devices, securing your passwords and privacy wherever you go!
Be sure to check out the other articles here in the Teracore blog for more step-by-step guides and handy tips to secure your privacy and streamline your business and be sure to check out my post on the best tech tools for small business in 2023 over at Things Learned after Thirty.

The Homeless Hermit
Business developer, tech junkie, and self-development writer at: www.thingslearnedafterthirty.com


